The day of hearts is fast approaching. While love can take on many forms, including self-love, love for family and friends, and the kind that motivates one to reach out to the needy, this 2-part blog post focuses on romance and love between couples.
Since this blog is all about crafting, DIY, and celebrating everything creative, I'll be curating a list of items one can make for a sweetheart for Valentine's Day.
Why Give DIY Gifts for Valentine's?
A DIY gift can help maintain or regain the relationship's romantic spark.
You may have been dating for a while, and certain dates or activities may have become routine.
That's why giving your boyfriend or girlfriend something handmade might come across as a (pleasant) surprise, especially if your sweetheart were used to receiving store-bought items.
The fact that nothing beats a present that took time and effort to prepare will make them feel special.
A DIY gift can be customized or personalized.
While customizing a present, you don't just take the occasion into consideration. You also think about the person's hobbies or interests, as well as tastes or preferences like favorite colors, or pop culture interests like movies, music, choice of literature, etc.
Just because a gift is handmade doesn't mean it's sloppily done.
A handmade gift doesn't to be inferior to items bought from the store. If you're not particularly crafty or exceptionally skilled and creative, you can pick some of the less complex DIY gifts among the list.
Other items can be given to complement a handmade present.
These could be consumables, like candies or chocolates, or a bouquet of flowers.
Having cited all the good reasons to give DIY gifts for Valentine's Day, here are 11 items you can make for that special person in your life:
(**DISCLAIMER: Affiliate links have been inserted in this post. I'll be collecting a commission every time you click on those links and make a purchase.)
(1.) Mason jar gift
Date jar
This is probably the least expensive DIY present among the items on the list.
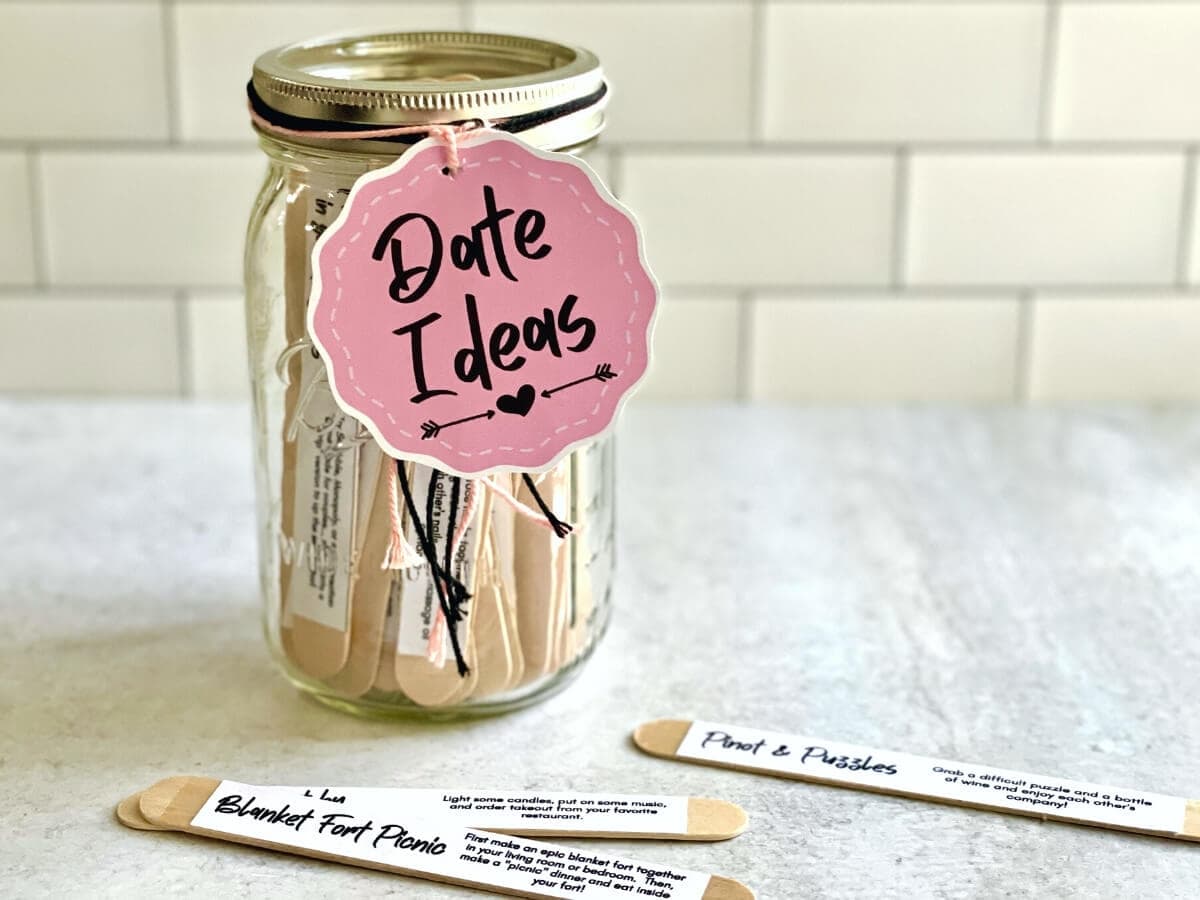 |
| Image from The Savvy Sparrow Click here for full tutorial. |
Coming up with different categories of date ideas, storing them inside a mason jar, and making your sweetheart choose every time you decide to meet up, will often ensure that you'll have a fantastic time.
This DIY present can also be an exercise in creativity, since you'll be motivated to think outside the box for activities to do on dates.
To illustrate, should you decide that this month is Frugal February but wouldn't want to compromise on romance, you may wish to include "an afternoon at the thrift store," "shop for second-hand books," or "grab coffee and sandwiches at a convenience store before an early morning joyride" among your date ideas.
Things I Love About You
Rediscover the reasons that attracted you to your sweetheart, and, eventually, the things that made you fall in love with them, with this Things I Love About You mason jar.
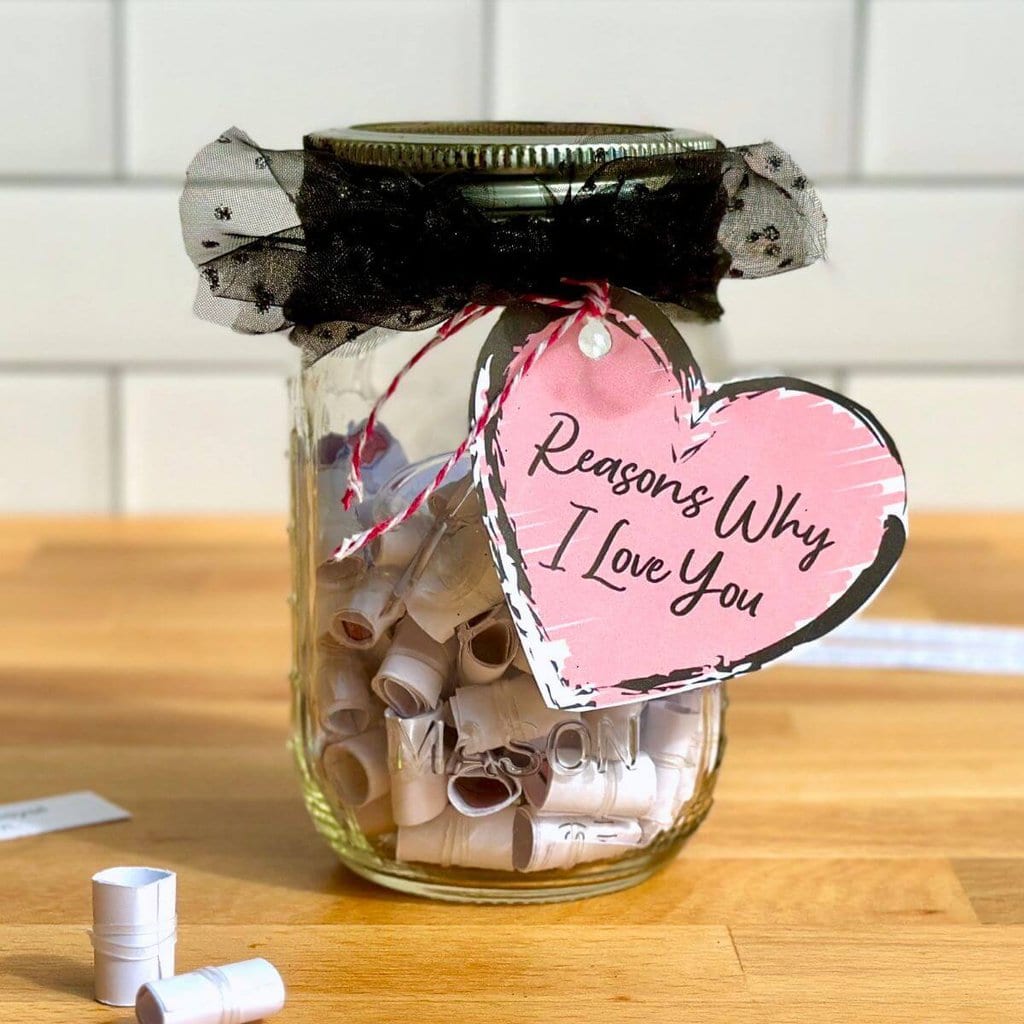 |
| Image from The Savvy Sparrow For full tutorial, click here. |
You don't need to limit yourself to 30-40, or even 50 rolled up sheets of notepaper. There could be close to 100 reasons you fell in love with your boyfriend or girlfriend.
(2.) Scrapbook
Scrapbooks can be fun to make, especially if you've had a lot of memorable dates.
You can arrange pictures you've taken from a trip to the beach, a day at an amusement park, a picnic, a board game afternoon with friends, a cosplay convention, or a paint-and-sip session at a cafe.
Enhance your scrapbook pages by incorporating 3D effects using foam letters, or use craft punches to create dramatic edges.
 |
| Image from freepik |
- bookmarks
- preserved flowers
- tickets to a concert or music festival.
- greeting cards, love notes, and letters.
- flyer or brochure announcing an event (e.g. book launch or author signing at a nearby public library, a night of stand-up comedy or beat poetry, advanced screening of an indie film, a craft fair or bazaar, etc.).
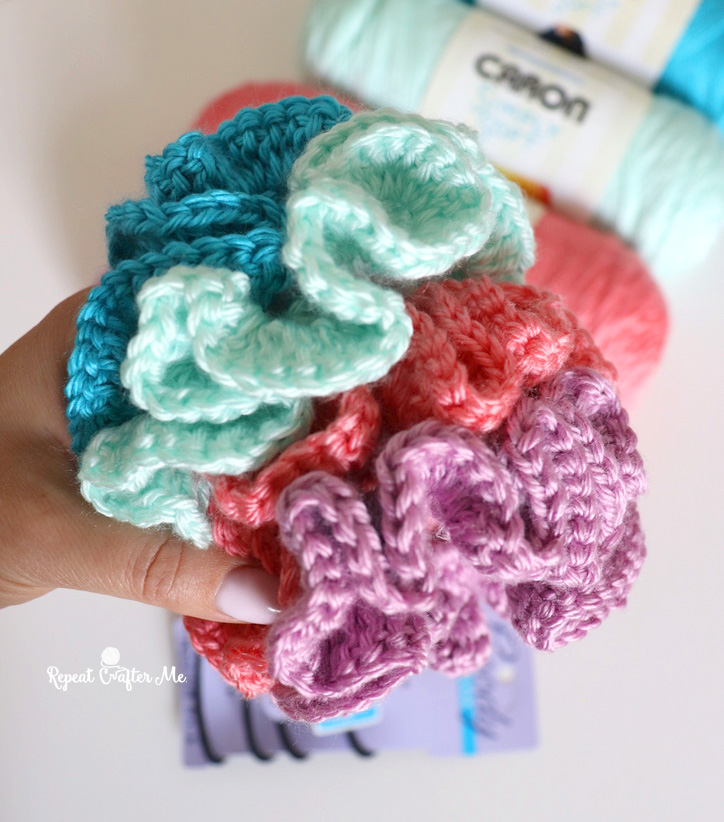
(3.) Craft caddy
Does your sweetheart knit or crochet while watching shows on Netflix to unwind after a long day at work?
Or maybe she prefers other crafts like diamond painting, punch needle, or needlework?
Does he design artist trading cards to trade during conventions, or make sports-themed accessories for his friends?
Well, why not DIY a craft caddy as a gift for Valentine's Day?
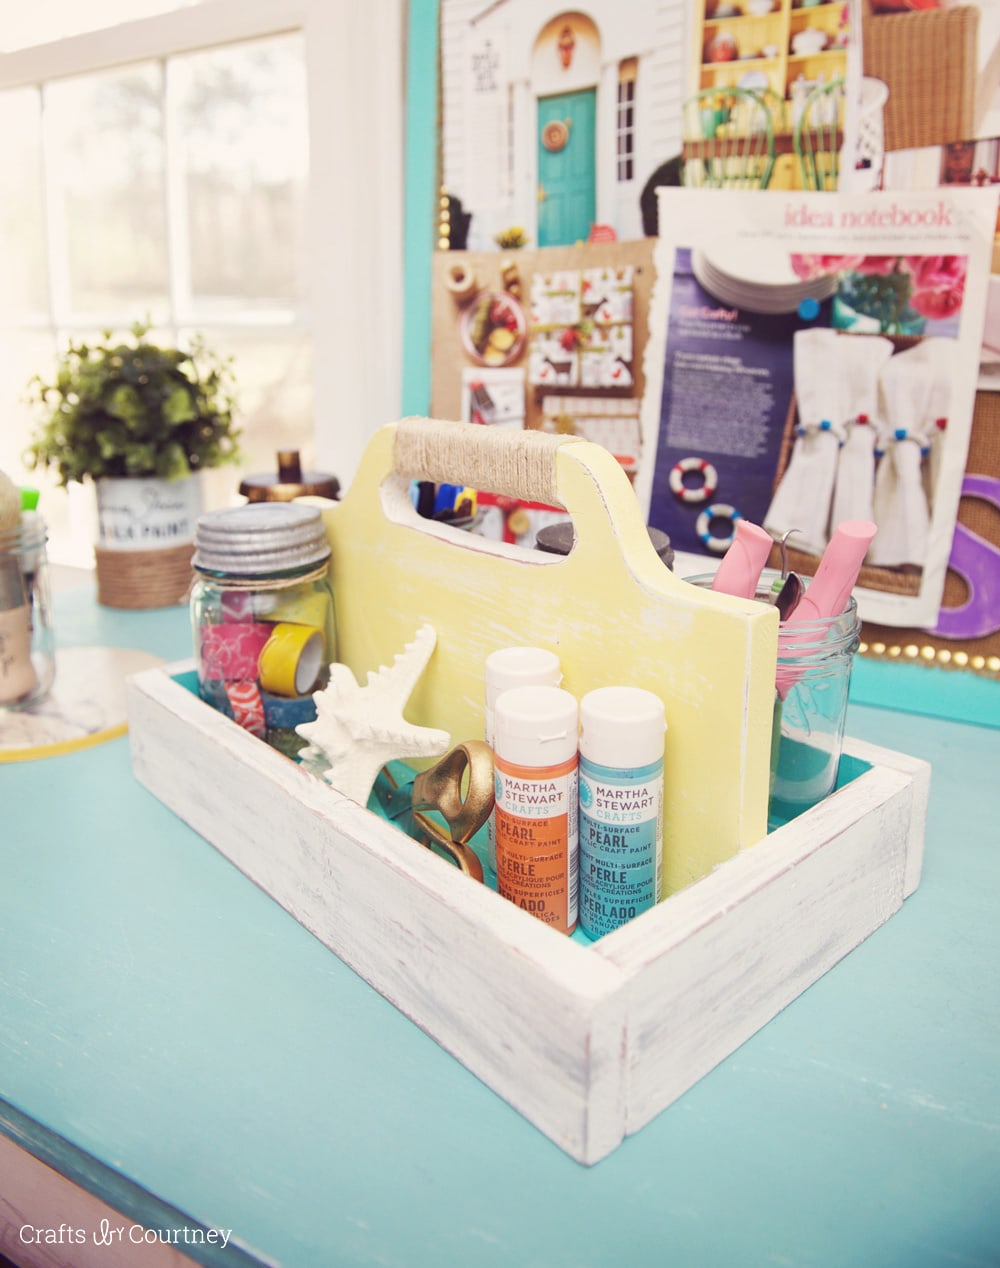 |
| Photo from U Create Click here for full tutorial. |
Since a craft caddy is portable, it's convenient and can be placed on top of a coffee table beside a sofa. Your girlfriend doesn't need to bring a lot of her supplies for knitting or crochet.
And the best thing about a DIY caddy? It doesn't have to be for craft materials only. You can tailor its contents according to your sweetheart's interests, hobbies, and preferences.
If he enjoys puzzles and mind-bending activities, fill the caddy with crossword and Sudoku booklets. If he's into old-school games, place a deck of playing cards, Uno, a set of dominoes, Rubik's cube, and a magnetic chessboard.
If she loves to unwind by reading during weekends, ask about her favorite authors and get her copies of the books she hasn't read yet.
(4.) Single rose bouquet with a cheeky card
I have yet to meet a lady who doesn't like getting flowers, whether it's a single-stem rose or an entire bouquet.
For the gents, this tutorial is simple enough for you to surprise her. Give this along with --
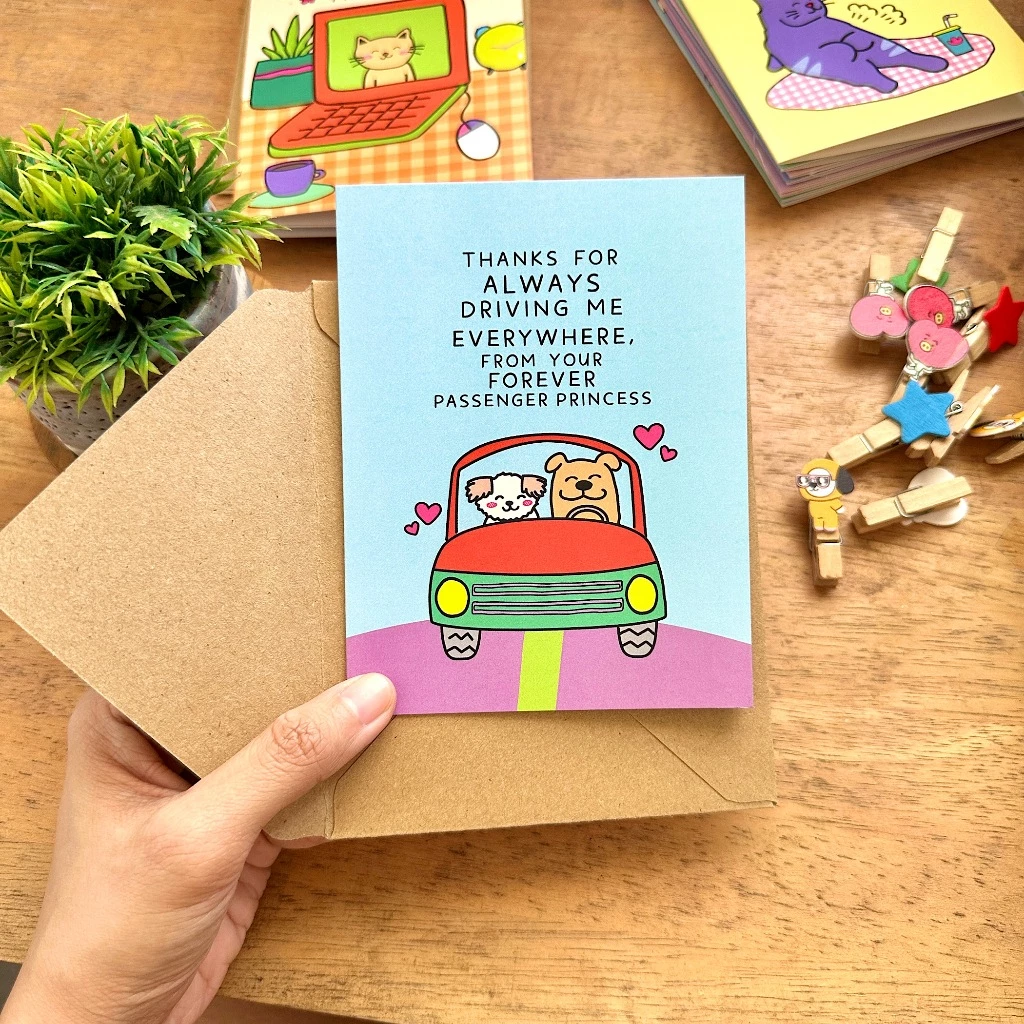 |
| Valentine's card by papeldesarapen |
(5.) Book sleeves with bookmarks
This project is perfect if you're handy with a sewing machine. If you have a bookworm for a sweetheart, delight him or her with a personalized book sleeve and a set of bookmarks!
The video above shows how to sew a book sleeve for ladies. If you want to make one for a boyfriend, substitute the fabric with dainty prints or floral patterns with one of a more masculine style -- chevron, polka dots, plaid, or even a print with pop culture characters.
With regards to bookmarks, think about the genres your sweetheart loves to read.
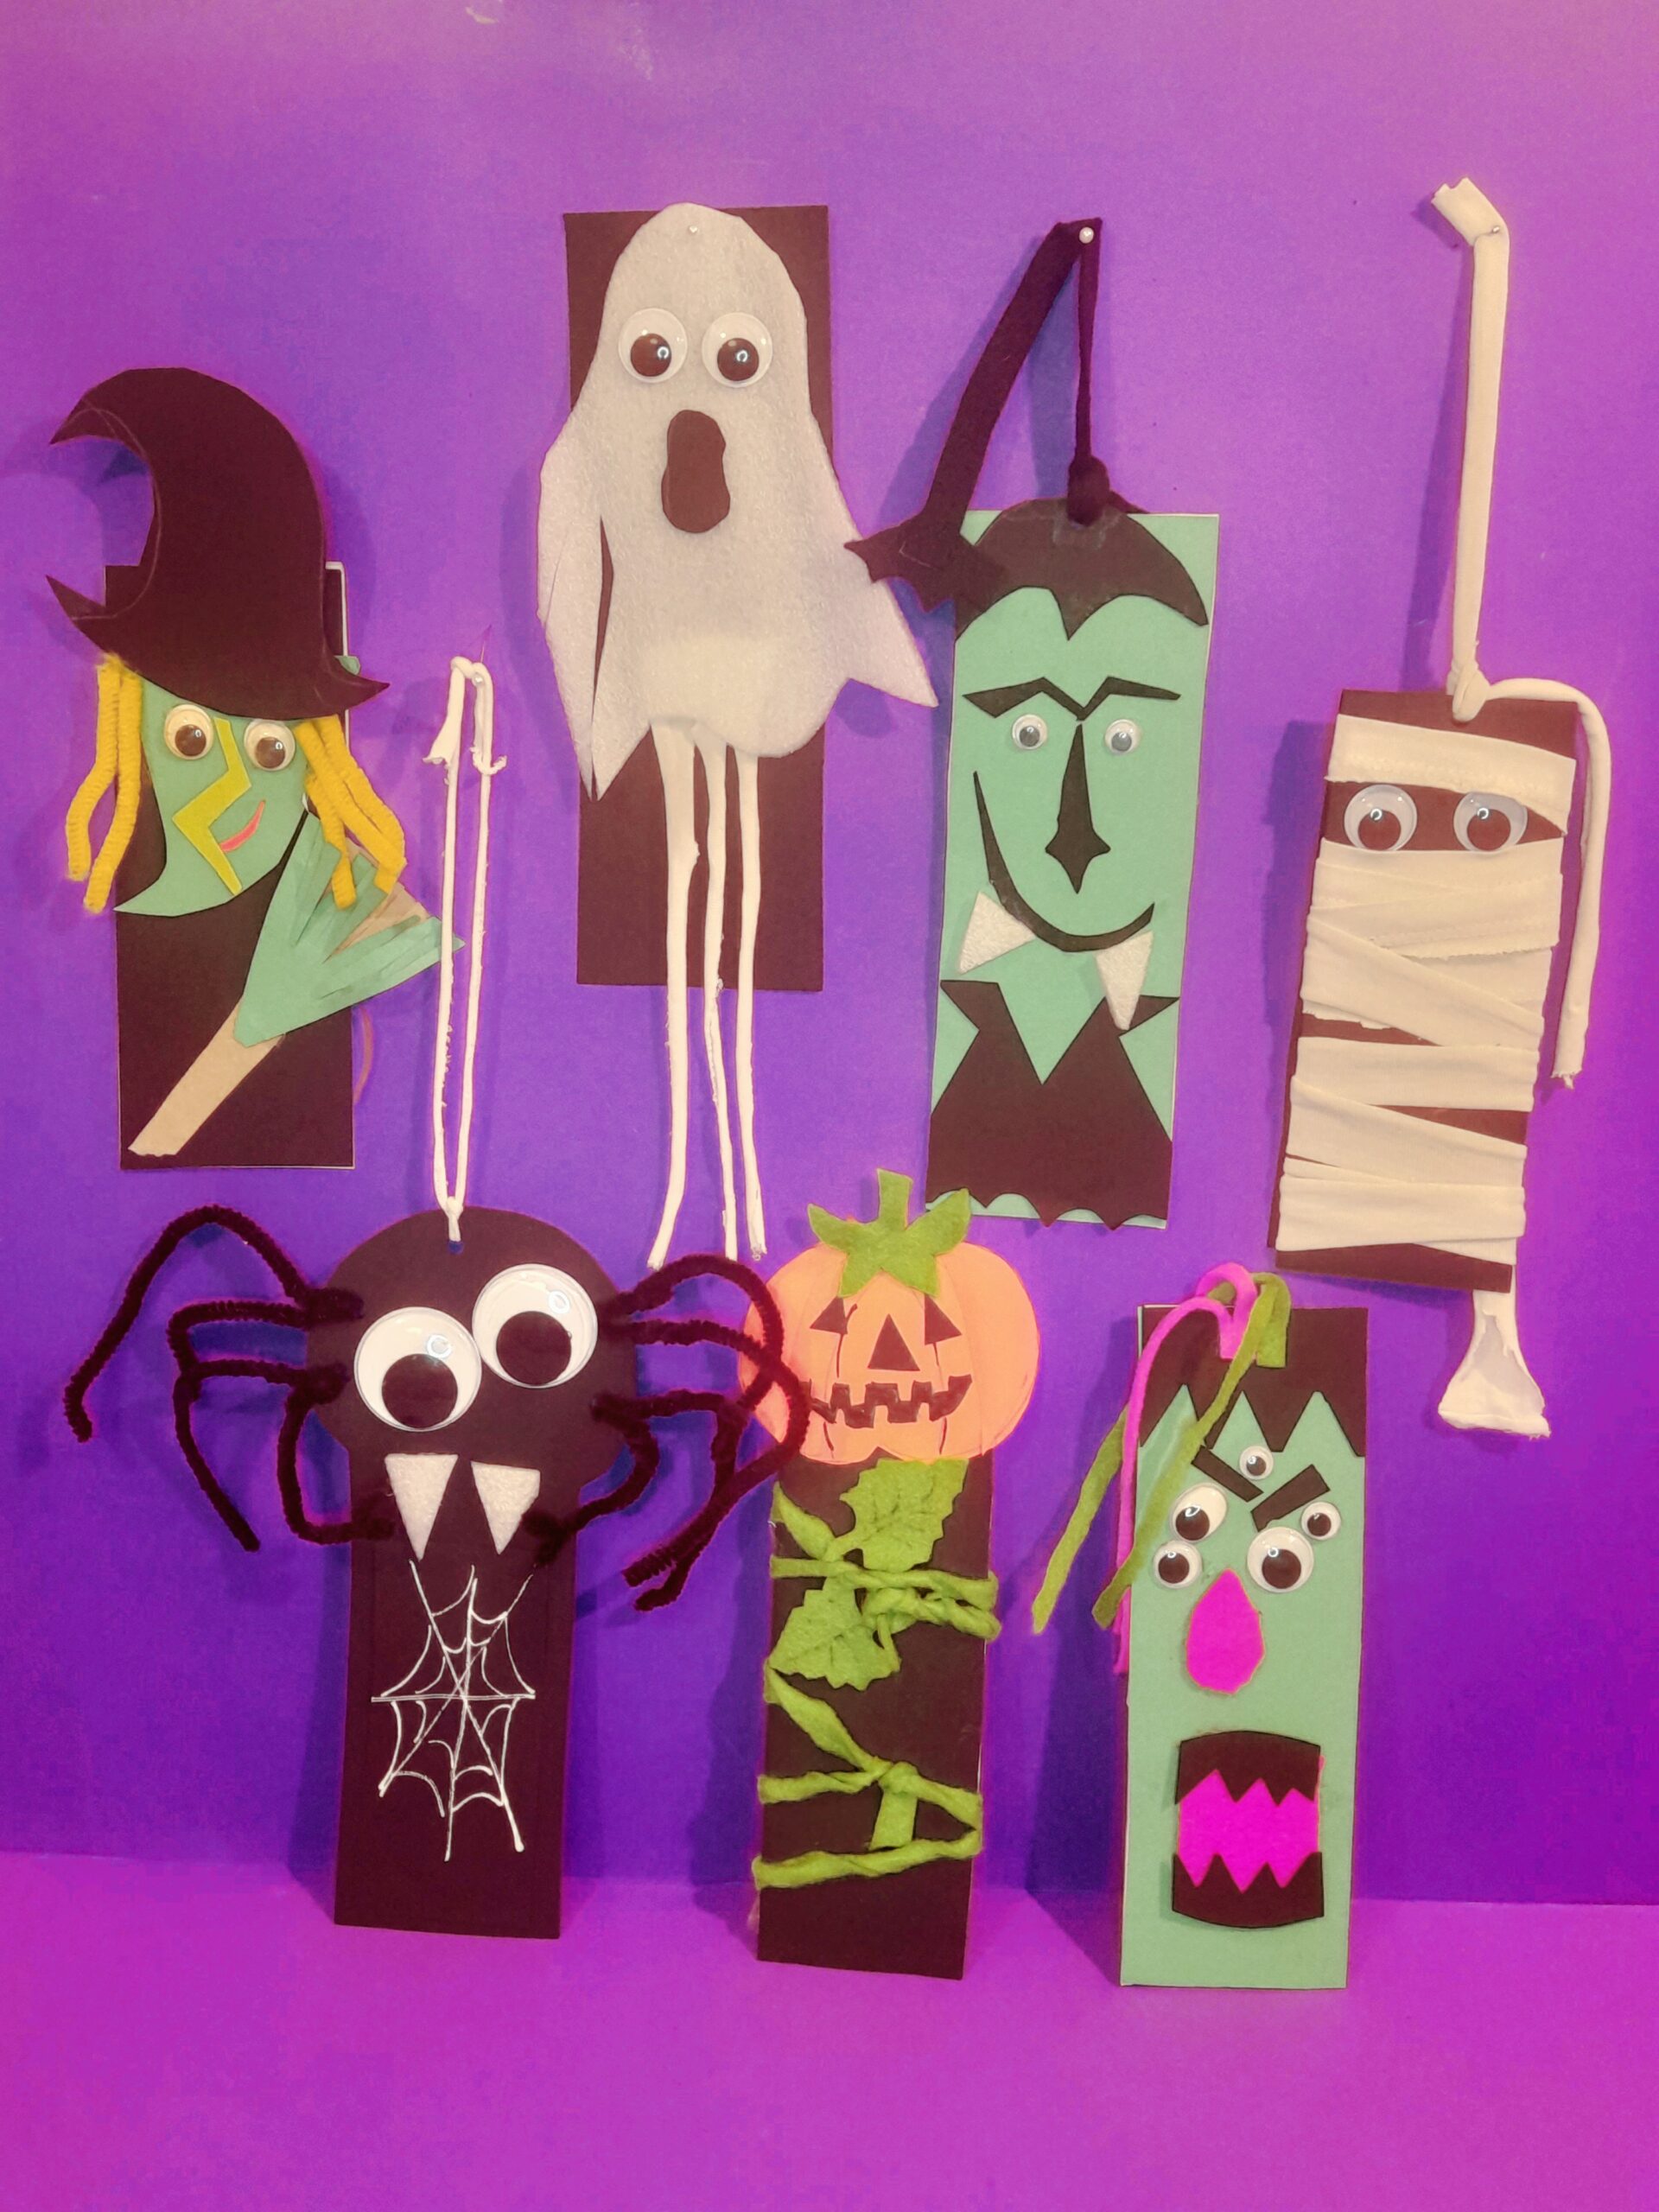 |
| Image from Crazee Kids Art Click here for full tutorial. |
Try making a bunch of these Halloween bookmarks if your boyfriend is a fan of gothic or horror novels.
If romance novels and classics are a staple in your girlfriend's reading fare, giving her these shabby chic bookmarks are the best way to go.
Still, if you simply want a bunch of cool corner bookmarks that remind you how much fun reading can be, click the videos above for Sesame Street bookmarks tutorials.
(6.) Couples' bracelets
While dating, you don't need to settle for couples' accessories that require you to shell out a huge amount.
The colors of a DIY macrame bracelet (tutorial above) can be modified or customized to suit the month of hearts. You can make a red-and-white or pink-and-white macrame bracelet for yourself, and a black-and-white or navy-and-white one for your sweetheart.